









 Lead Times
 Water Tank Liner Witch Hat Installation
Follow the illustrated installation steps. Select any photograph to enlarge it.
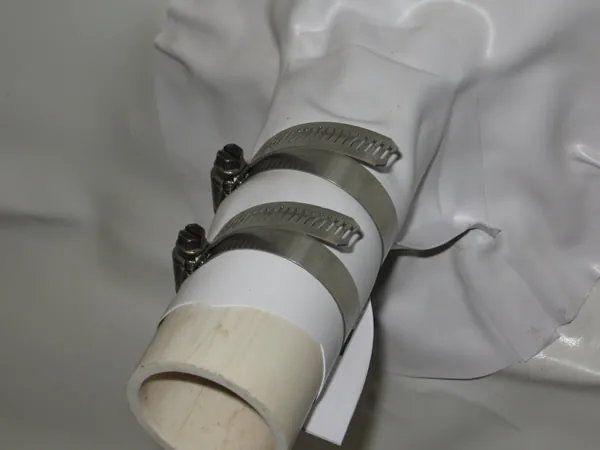
Installing a Witch's Hat for Existing Pipe Inlet/Outlets
1. Cutting for the Pipe
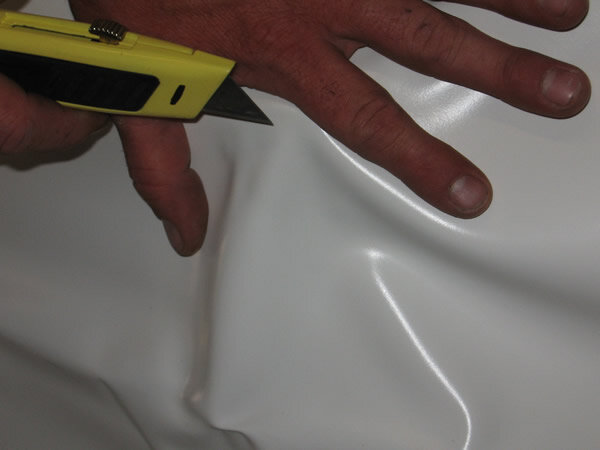
Correctly position liner, then press the vinyl over the pipe to clearly show its location. Using a sharp razor knife, cut a small "X", just large enough to push the pipe through the vinyl.
2. Push Pipe Through
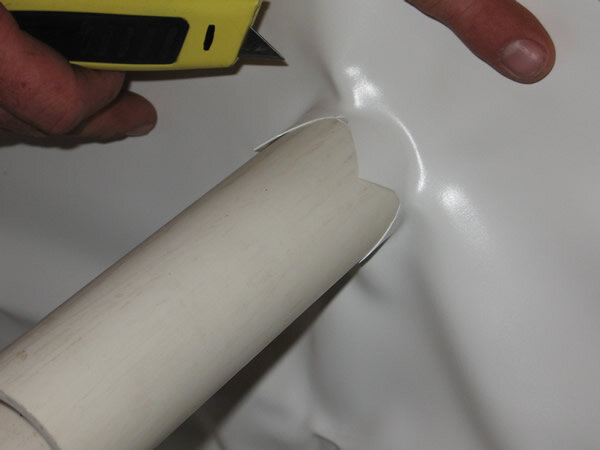
Push pipe through the newly cut hole. Ideally, the hole should be small enough so that vinyl stretches as the pipe passes through. Put razor knife aside in a safe location where it won't accidentally gouge your new liner.
3. Prepare the Hat
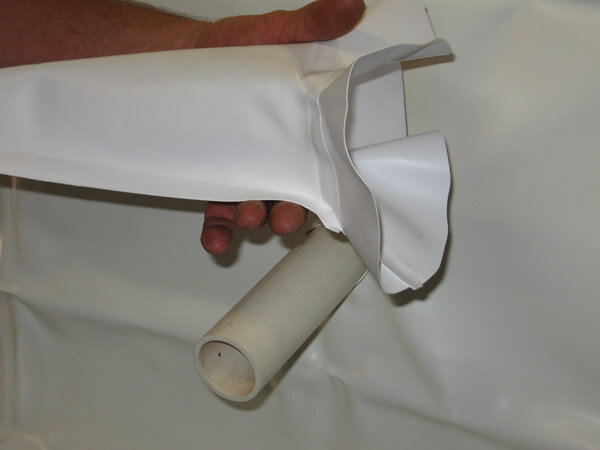
"Fluff" the witch's hat so that the cone opens up and the brim sits relatively flat in preparation for sizing.
4. Cut Witch Hat to Size
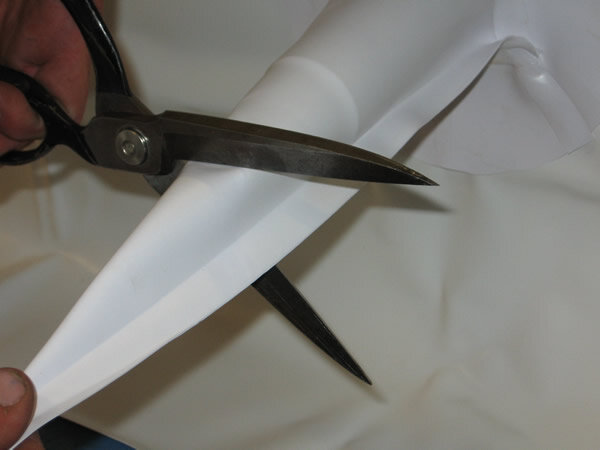
Before applying glue, slip the hat over the pipe as far as it will go, pushing the brim back towards the wall. You should encounter some resistance and the vinyl cone should stretch around the pipe. Once in position, size the cone by cutting off the tip with a pair of sharp scissors. Set the scissors aside with the razor knife.
5. Check the Fit
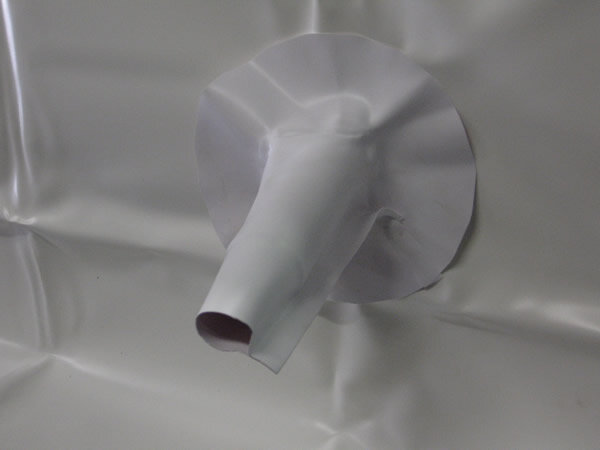
The hat should sit like this, stretched over the head of the pipe with the brim flat against the liner wall.
6. Secure with HH66 Glue
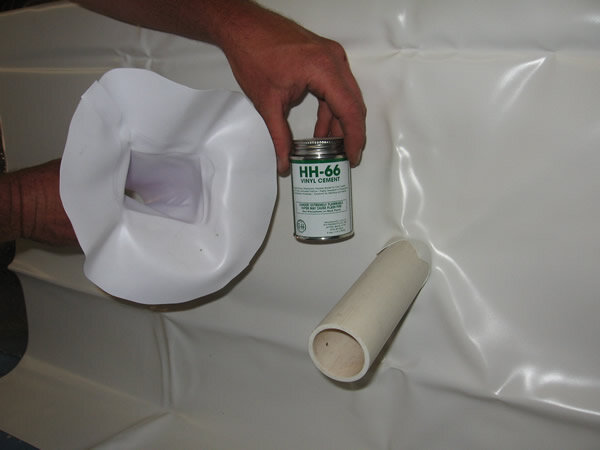
Special, HH66 vinyl glue is used to chemically bond the two vinyl surfaces together. This creates an exceptionally strong bond and prevents leaks when applied properly. We recommend having at least one 16oz can of HH66 per witch hat ready prior to installation. This is available for purchase during your order through Ameri-Brand Products Inc., or it can be obtained separately.
7. Gluing the Brim
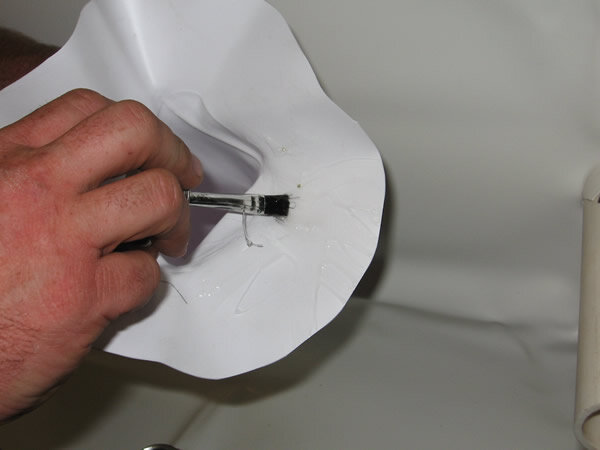
Apply the glue to the entire underside of the brim (the part facing away from the cone). Once you're finished, set it aside in a safe location where the glued surface won't get dirty or stick to anything while you apply glue to the wall.
8. Gluing the Wall
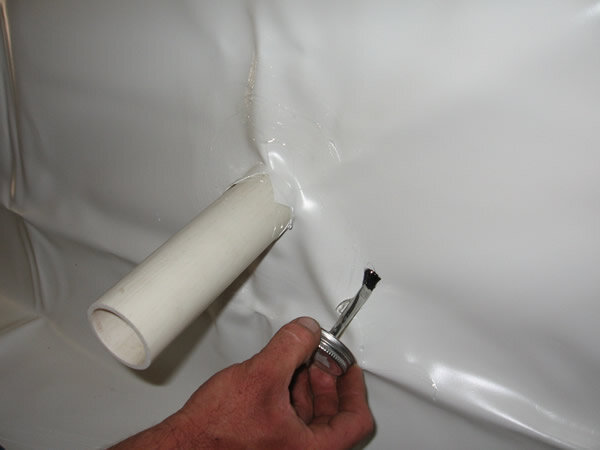
Flatten out the liner wall and apply glue in a circle around the base of the pipe. For best results, try to match the size of your glue circle with the radius of the witch's hat brim.
9. Attaching the Hat
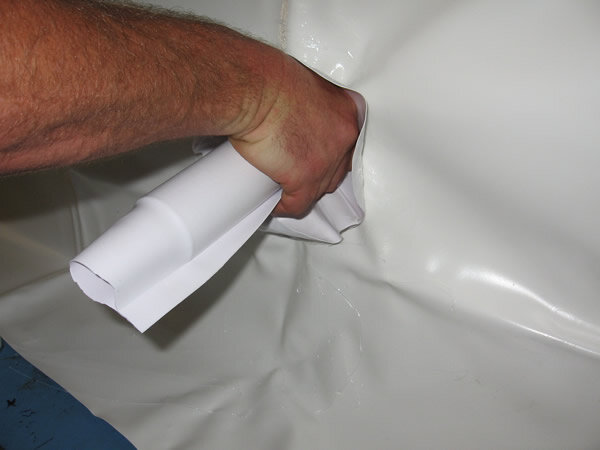
Carefully slide the witch's hat over the pipe and push it back to wall.
10. Press Brim Firmly to Secure
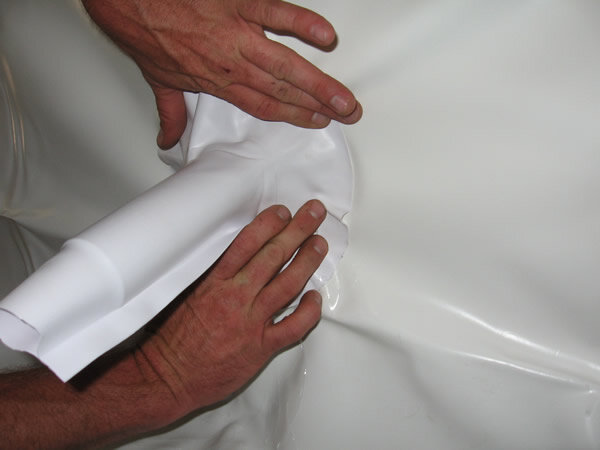
Press the brim of the hat firmly against the wall and work out any the wrinkles in order to create a seal between the two glued surfaces.
11. View of Attached Hat
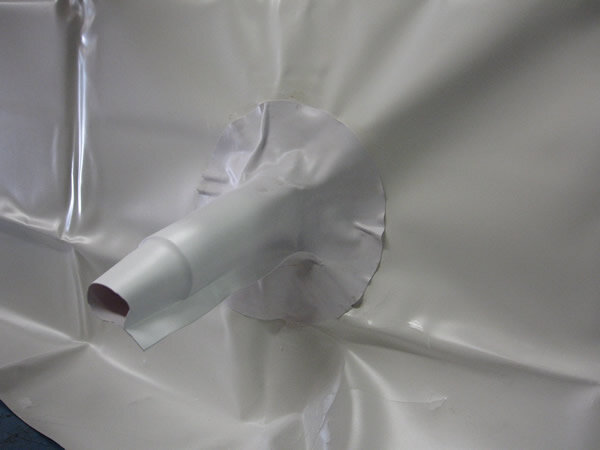
12. Add Stainless Steel Hose Clamp
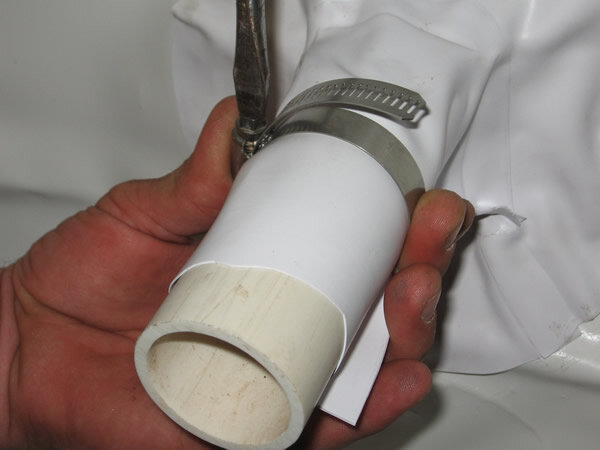
Hose clamps are used to create the seal between the pipe & hat. These fittings are NOT INCLUDED, due to the wide range of pipe diameters encountered in the field. However, basic stainless steel hose clamps can be purchased for a few dollars at any local hardware store. Slide a hose clamp over the end of the hat/pipe so that it sits over the vinyl cone with pipe underneath. Push it down far enough so that there is room at the end for a second clamp. Tighten the first hose clamp into place.
13. Add the Second Clamp
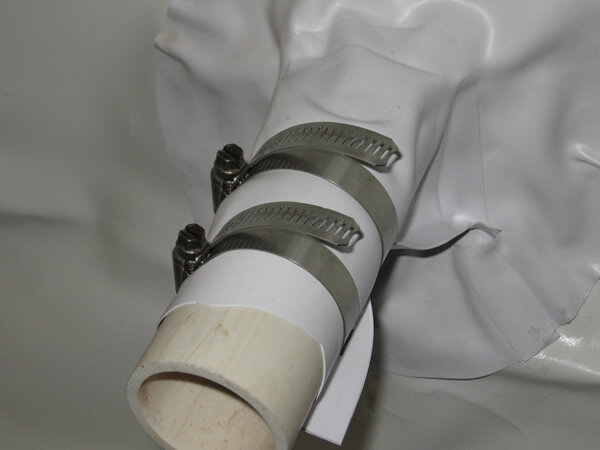
Add a second hose clamp and tighten to match the first. And that's it... you now have a watertight inlet or outlet for your new vinyl tank liner.