












 Lead Times
  No Sales Tax
  Made in USA
 Install Your Ameri-Dome
A step-by-step overview of a typical pool dome installation, from marking the deck to inflating your enclosure.
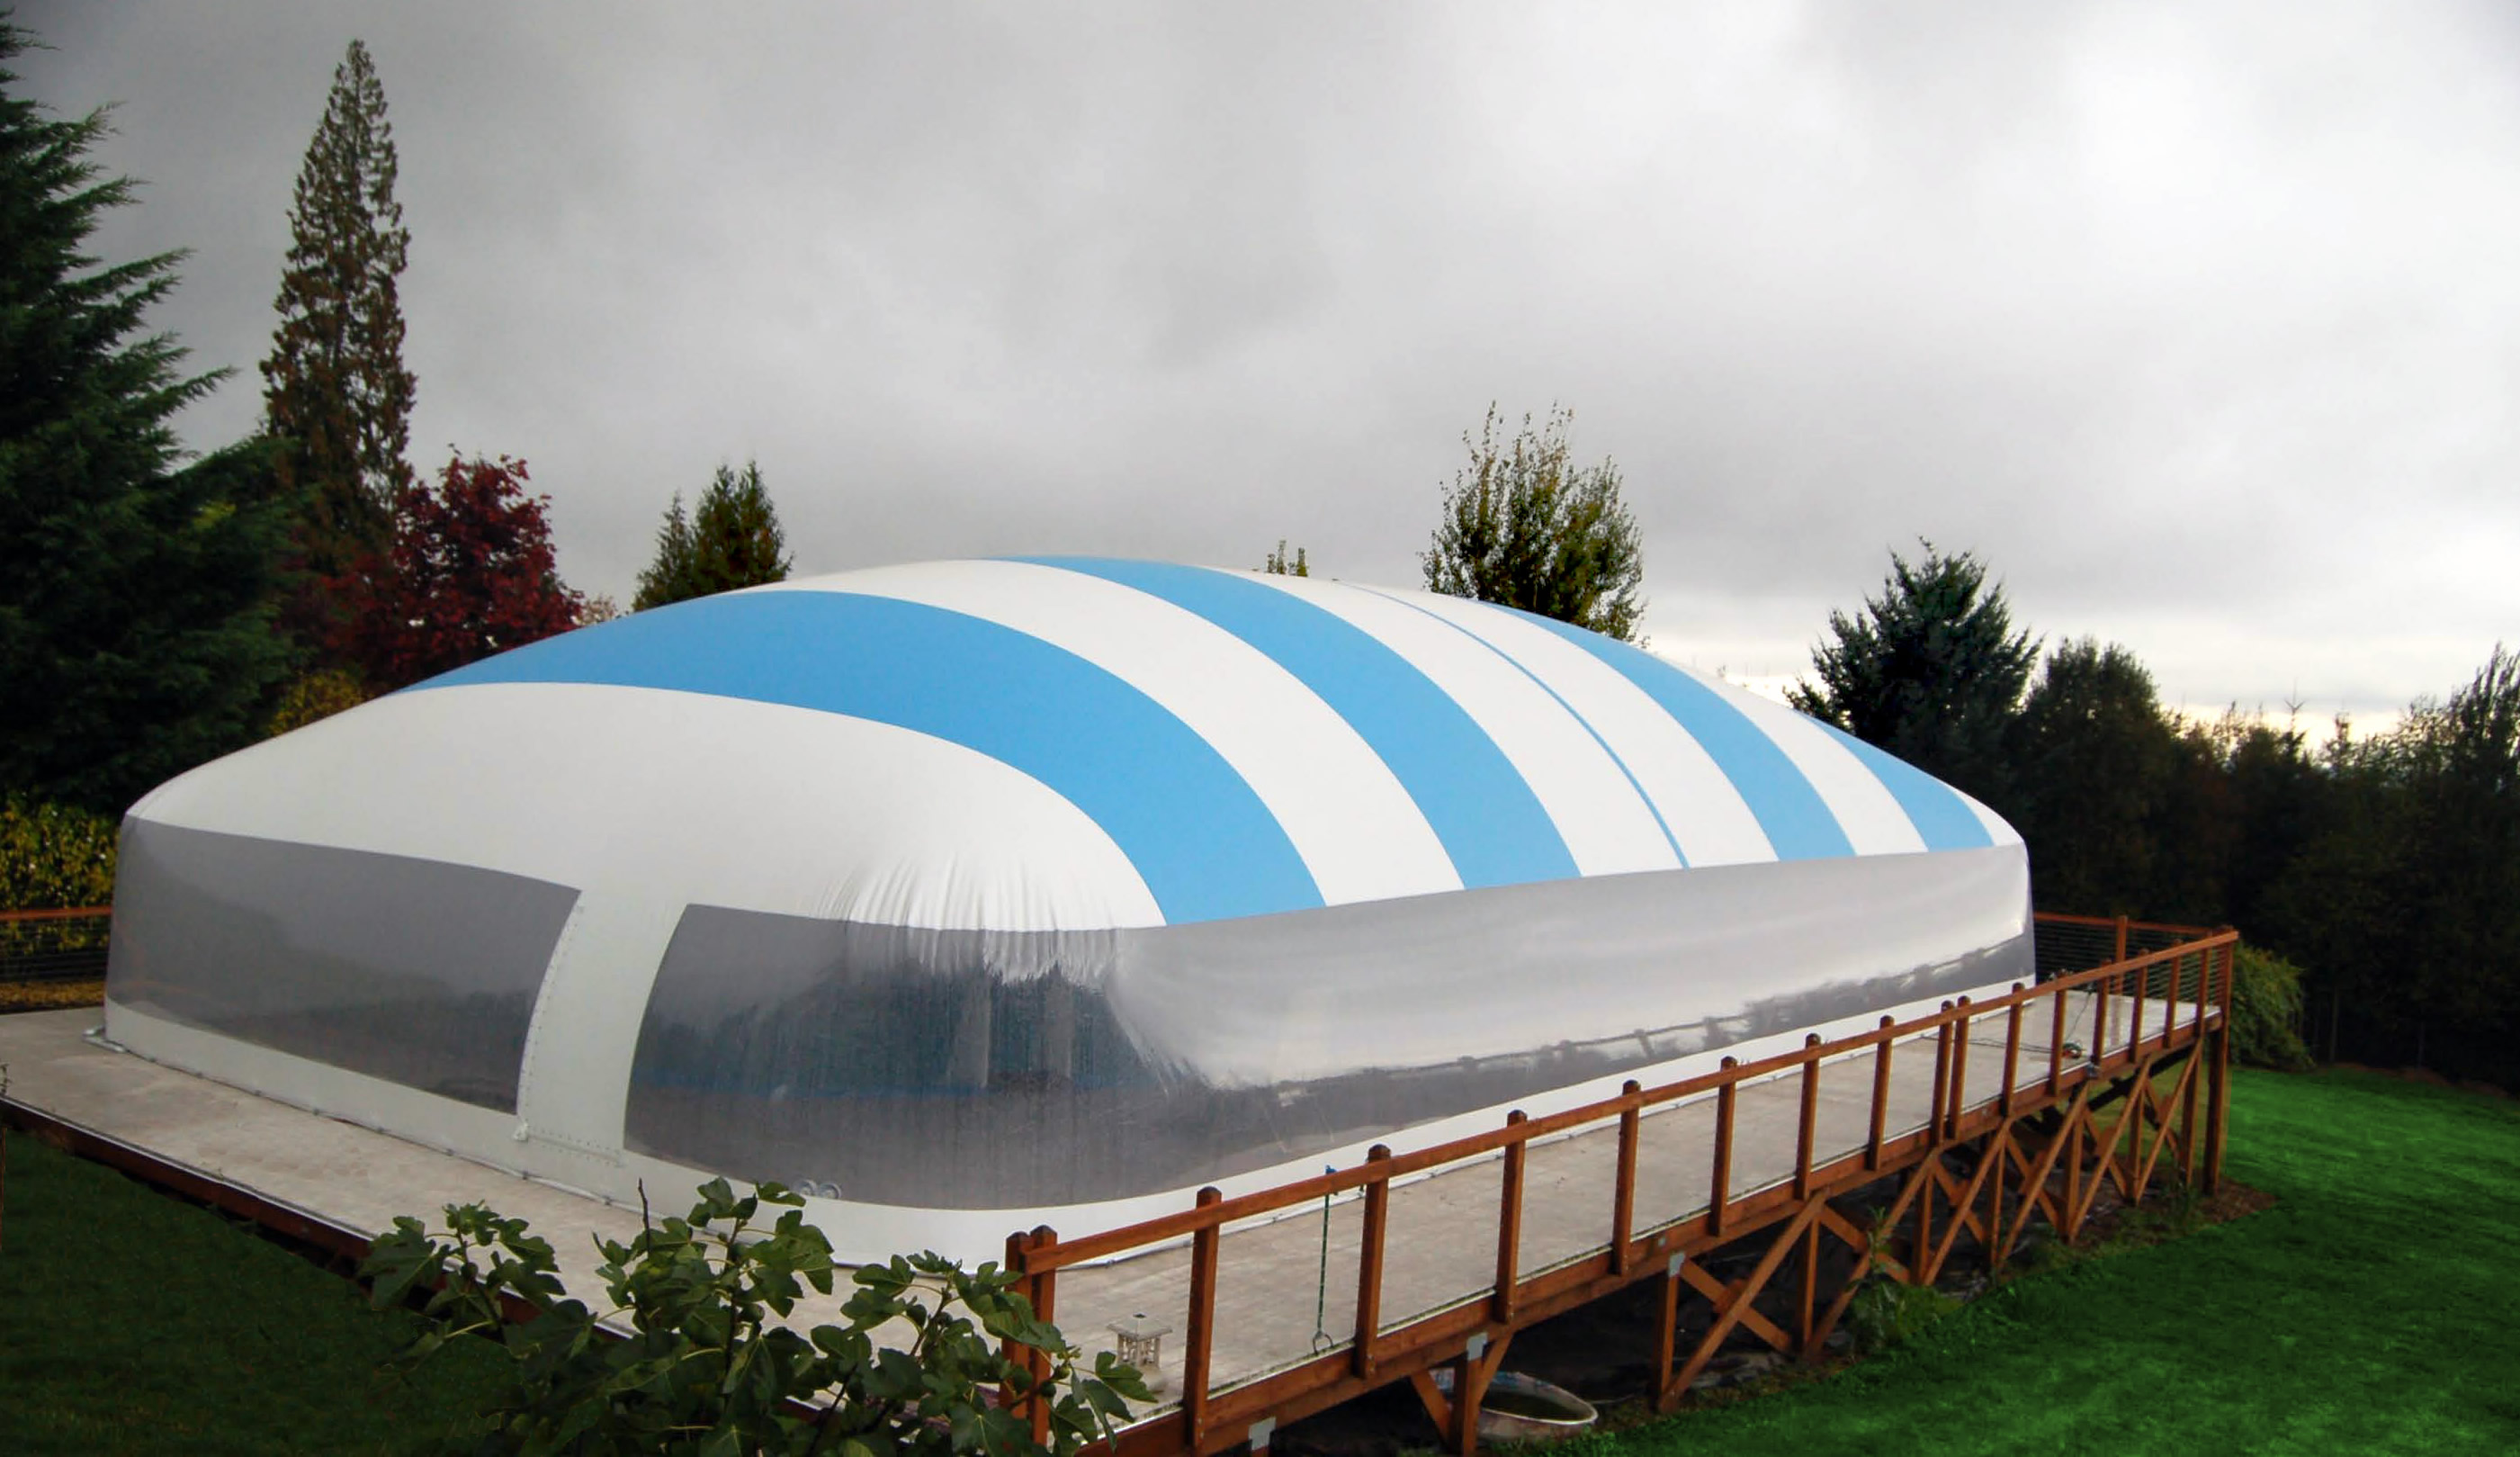
Before You Install Your Pool Dome
Here are the basic steps to install your new dome. Please note: This is only an overview of a normal dome installation and is provided for you so that you may get an accurate idea of what is actually involved when installing a dome for the first time. Your new dome will come with more detailed instructions on specific items that may or may not apply to your particular installation. Please use the instructions provided with your dome as the actual installation guide.
After placing a few thousand domes around the world over many years, this system has been simplified and perfected so any “do-it-yourselfer” can complete the process easily and obtain professional results! However, Ameri-Brand is also your source for custom expertise. Our page on alternative pool dome installations should give you a small taste of what we can create to accommodate your needs.
Although installation times vary with each individual unit, a typical installation time frame is accounted for by the example times shown below (larger commercial domes and sport domes will take longer). For this example, this installation begins at 12:00 noon. Also, subsequent reinstallations will take much less time, as there will be no need to drill holes, etc. Allow extra time for installation of add-ons like the Airlock Entry System (view the Airlock Assembly Video).
Residential Pool Dome Installation Steps
Follow the sequence below for a typical residential installation. The times are one example and will vary with the size and details of your dome.
Step 1: Snap a Chalk Line
Example time:
Snap a chalk line on the pool deck to form the outline of the dome using the original “X” marks to form your perimeter line. (These are the ones that were placed on the deck in indelible marker when you measured the dome for ordering.)

Step 2: Mark Anchor Spacing
Example time:
Using the instructions we provide for your specific dome as your guide, place a chalk mark across the perimeter line at each anchor location. This anchor spacing is typically every 3'. It is not necessary to mark the corner anchors at this time, as their exact placement will be determined after the dome is spread across the pool.

Step 3: Drilling Anchor Holes
Example time:
Drill a hole with a “Roto-hammer” and a 1/2" diameter masonry bit to a depth of 2" at each anchor location.

Step 4: Installing Anchors
Example time:
Drop an anchor sleeve into each hole drilled. Tap gently with a hammer if necessary until the top of the sleeve is flush with the swimming pool deck. To “set” the anchors, place the anchor setting tool (provided with your dome kit) into the center hole of each anchor and strike the tool with a hammer until it feels like it has bottomed out. Do not screw in the eyebolts yet, as we do not want to snag the dome on them as it is spread across the pool.

Step 5: Spreading Out the Dome
Example time:
Being careful not to drag or scrape the dome across the pool deck, spread the dome over the pool and position it as closely as possible to the perimeter chalk line.

Step 6: Add the Eyebolts
Example time:
Screw an eyebolt into each anchor and screw the retaining nut down to “lock” the position of the eyebolt in place.

Step 7: Attach Eyebolts to Cable
Example time:
Attach the cable of the dome to the eyebolts.

Step 8: Make Corner Radii
Example time:
Determine the corner anchor positions by pulling the corners of the unit into place. Drill the remaining corner anchor holes, set the anchors, and screw in and set the remaining eyebolts. Attach the cable to these eyebolts.

Step 9: Position Dome Blower
Example time:
Position the blower assembly and control switch between any 2 anchors at any place around the perimeter, with the exception of directly at the entry, a corner, or the anchor hem close-off.

Step 10: Inflate the Dome
Example time:
Plug the dome in and the inflation begins. Go put your swimming trunks on and be sure to grab the camera.
We really do appreciate customer photos!

Commercial Pool Dome Installation Video
See how the installation process scales for a larger commercial pool enclosure.
Video: Cover Installation for a Commercial Pool Dome