











 Lead Times
  No Sales Tax
  Made in USA
 After Purchase of Your Ameri-Dome
What to expect when your Ameri-Dome arrives, how to receive it, and the resources you need for setup.
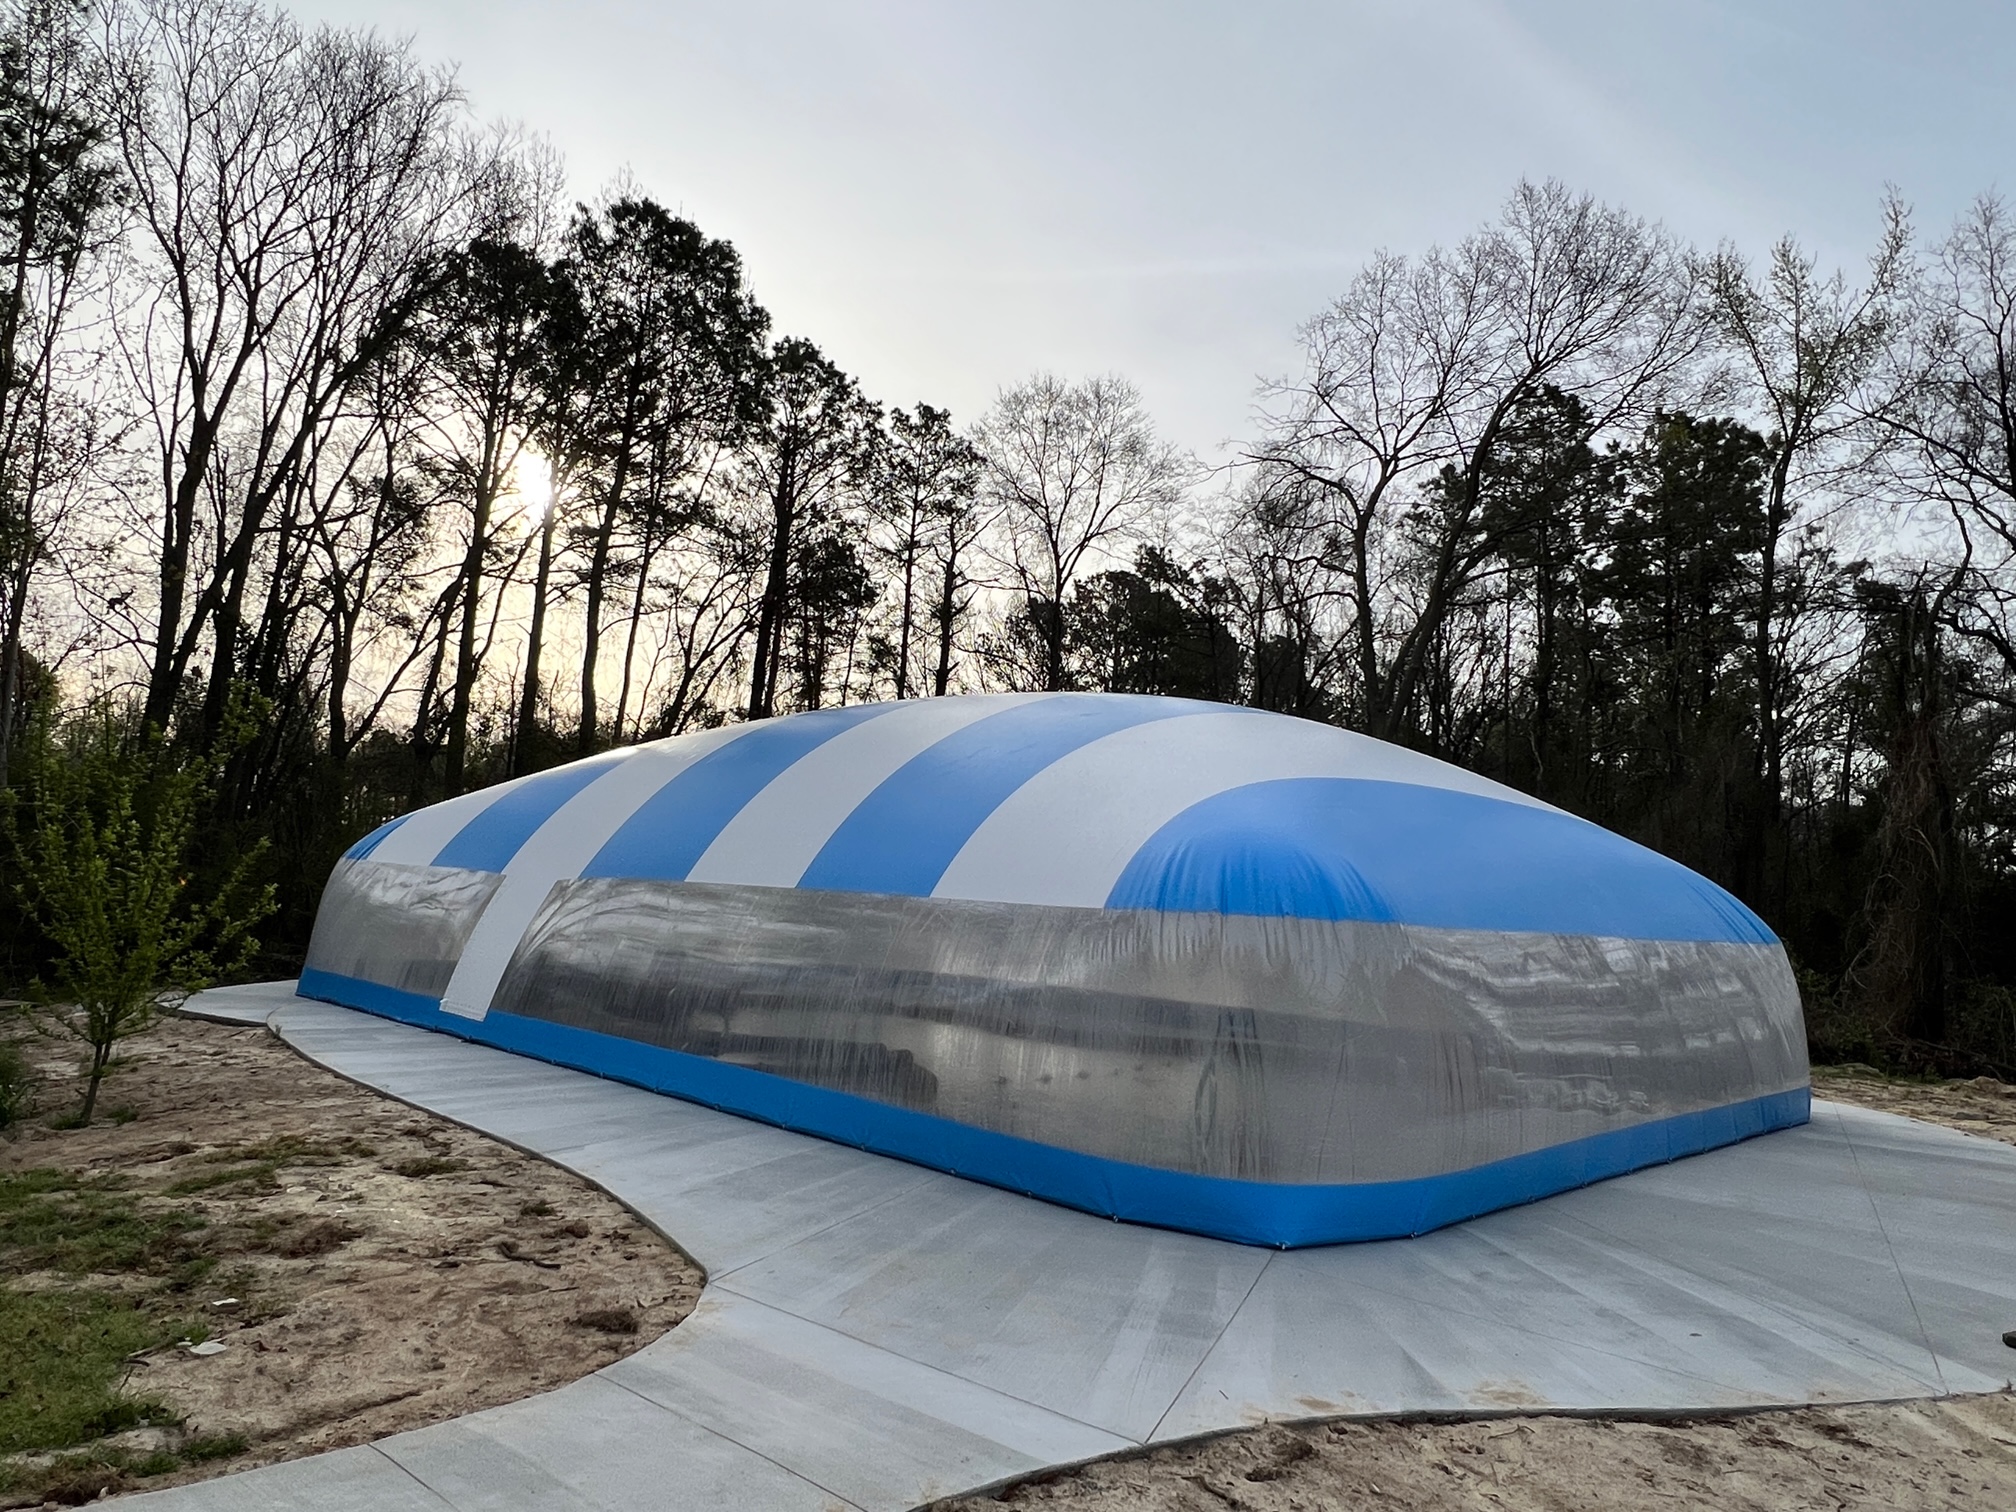
What to Expect at Delivery
Ameri-Domes are shipped via common carrier. A semi-truck will bring the dome to your home or business. Trucking schedules can vary. If your dome is being delivered to the East Coast from California, typically allow at least 7–10 days for transit time. The trucking company will normally give you at least 24 hours' notice prior to delivery. They will require someone to be there to inspect the shipment, note any possible damage, and sign for the shipment.
Delivery and Setup Resources
Keep these instructions nearby as you receive, install, and tune up your dome.
Residential Dome Delivery
Use these steps to receive, inspect, move, and prepare your residential dome for installation.
-
Step 1: Receive the Pallet
Once the truck arrives, you will receive a pallet with your dome and accessories. The entire load will be shrink-wrapped. This is to prevent loss or damage.
-
Step 2: Confirm the Boxes
There will be 3 boxes strapped to the pallet. (If you ordered a dome heater, there will be 4 boxes.) One of the boxes contains the blower and measures about 19" × 19" × 19" and weighs about 30 lbs. A second box contains your dome accessories (anchors, instructions, repair kit, etc.), and it weighs approximately 40 lbs. The 3rd box (the big one) contains the dome and will weigh anywhere from 200 to 400 lbs., depending on the size of the dome.
-
Step 3: Plan to Unload the Dome
This is where a pickup truck is helpful and makes unloading the dome an easy task. So beg, borrow, or steal one because the trucking companies will only drop the palletized shipment at the end of the driveway.
-
Step 4: Send the Box Dimensions
To load it onto your truck, cut away the straps and the shrink-wrap from the pallet. Please measure the largest box (Length × Width × Height) and send us the dimensions. This triggers the making of the custom-made zippered storage bag. We make it about 6" larger on all sides so you don't have to become a dome-folding expert when it comes time to remove and store the dome. This will take about 2½ weeks to manufacture, and we will send it via UPS.
-
Step 5: Move the Dome to the Pool
Remove the 2 (or 3) smaller boxes from the pallet and set them aside. Flop the large box (the dome) onto the bed of the pickup truck. You can then drive the truck to where it's needed to unload the dome, or you can flop the dome down onto the ground from the pickup bed. A sturdy handcart can be used to move the dome to the pool area. This makes unloading the dome an easy task.
-
Step 6: Find the Installation Documents
The installation instructions AND the anchor layout for your specific dome are included in a manila envelope in the accessory box. There is also a copy of the installation instructions. A page showing how to set the radius corners on your dome can be found in the radius-corner instructions.
-
Step 7: Complete the Tune-Up
After the dome has been installed, it's very important to complete the dome “Tune-Up.” Use this sheet as a guide. This will ensure you get the best performance possible from your dome.
-
Step 8: Attach the Dome Heater
The attachment information for the optional Dome Heaters is in the Dome Heater installation guide.
-
Step 9: Check Blower Fit
NOTE: Blower sizes and designs have been constantly changing since 2020. Finding a reliable blower that has the correct blower size to fit within our Dome Heater Housings has become quite a challenge. You may receive a blower that requires the removal of the handle to make it fit. Blower Resizing Instructions are available online.
Commercial Dome Delivery
Review the crate placement and installation documents before beginning a commercial dome setup.
-
Step 1: Position the Crate
When you receive your crated dome, there will be a map or image attached to the outside of the crate showing where it should be positioned on the pool deck in relation to the pool.
-
Step 2: Use the Commercial Instructions
The installation instructions for Commercial domes include the “Tune-Up” sheet that will help you get the best performance possible from your dome. They also include information regarding Air-Lock and Crash Door Installation.
-
Step 3: Plan Multiple Heater Connections
If your Commercial Ameri-Dome requires MULTIPLE Blowers with Dome Heaters, the Multiple Dome Heater Manifold instructions show a reliable method to extract an adequate supply of warm water directly from the pool without having to use an extensive plumbing arrangement.
-
Step 4: Check Blower Fit
NOTE: Blower sizes and designs have been constantly changing since 2020. Finding a reliable blower that has the correct blower size to fit within our Dome Heater Housings has become quite a challenge. You may receive a blower that requires the removal of the handle to make it fit. Blower Resizing Instructions are available online.