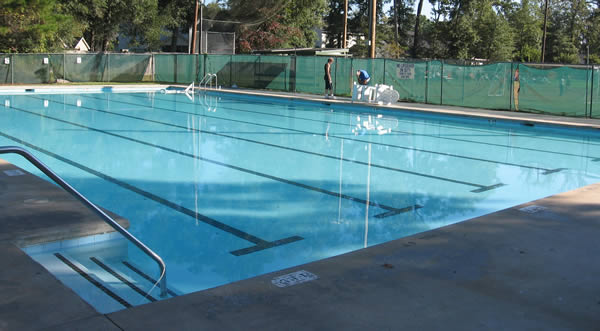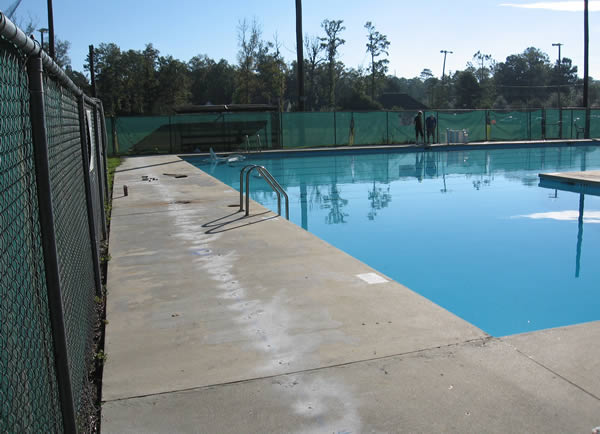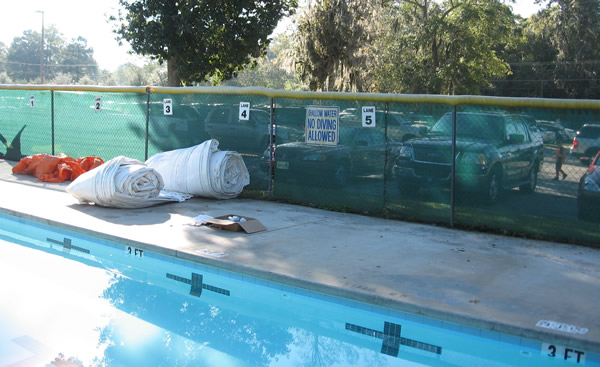











9:41 AM - Pool deck before dome installation.
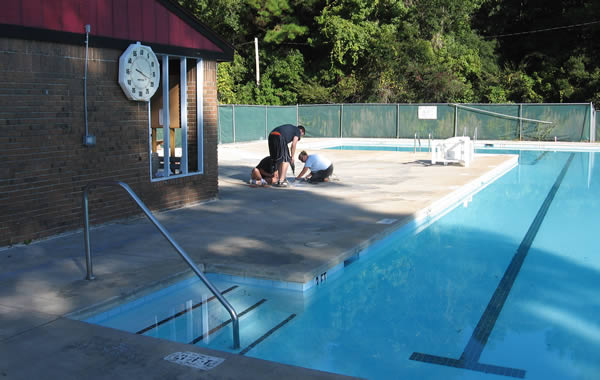
9:42 AM - Removing pool hardware from the deck which might interfer with installing the pool dome.
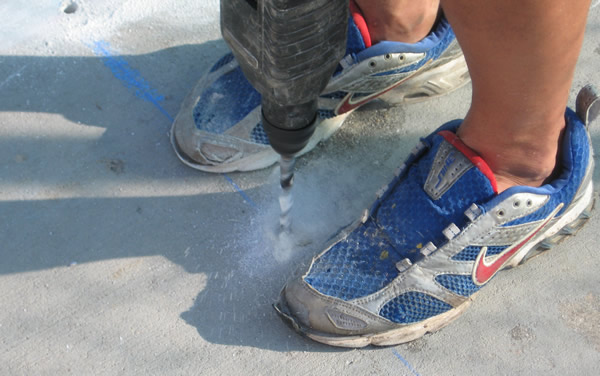
9:45 AM - Drilling anchor holes for the dome's perimeter.
9:53 AM - Drilling into concrete is done with a Hammer drill or "Hole Hog," often aquired at a tool rental locations.
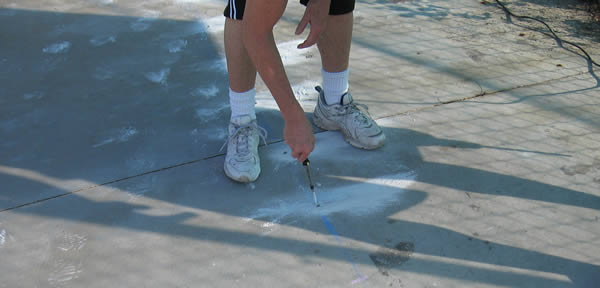
9:54 AM - Hole depth is checked while drilling using a screw driver marked with a band of tape.
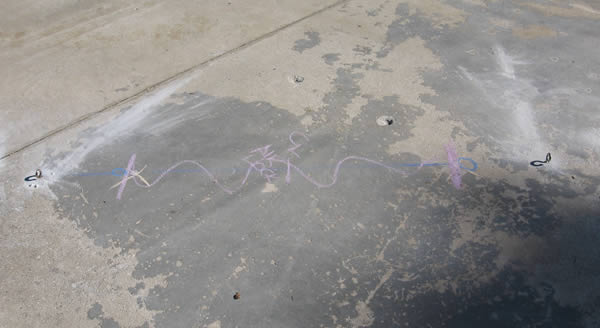
10:01 AM - Drilled holes waiting for dome anchors.
10:05 AM - Screwing eye-bolts into the anchors. Eye-bolts are first threaded by hand (right), then lightly tightened into place using a screw driver (left).
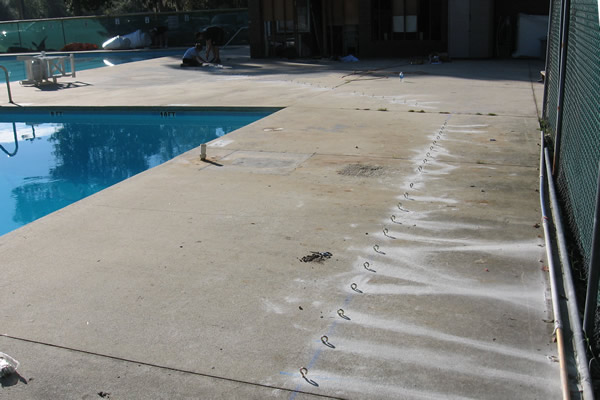
10:11 AM - Line of eye-bolts, ready to recieve the dome anchor cable.
10:21 AM - Proper space is left along the dome's perimeter for an Airlock Entry System
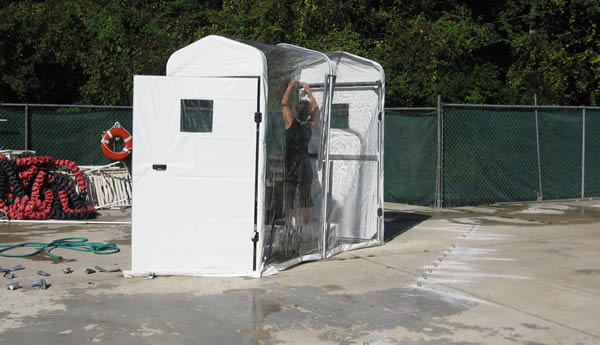
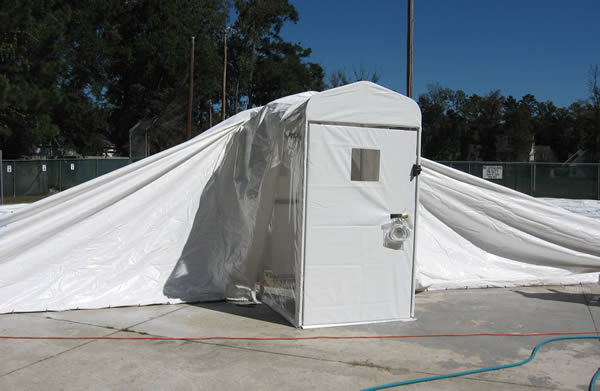
10:39 AM - Airlock Entry System comes largely pre-assembles and requires minimal work to setup.
10:42 AM - Rolled up dome, waiting to be installed. Each dome comes with instructions on where to place it so that the dome unpacks nicely without having to rearrange it or pull it along the pool deck.
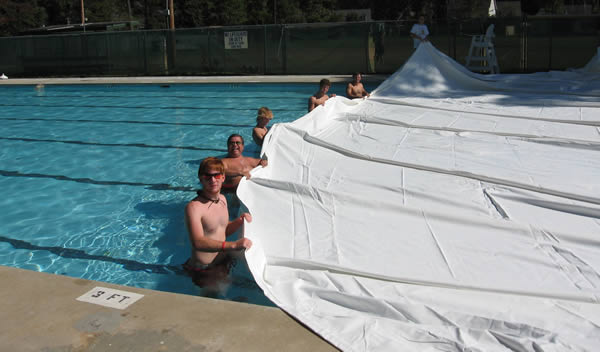
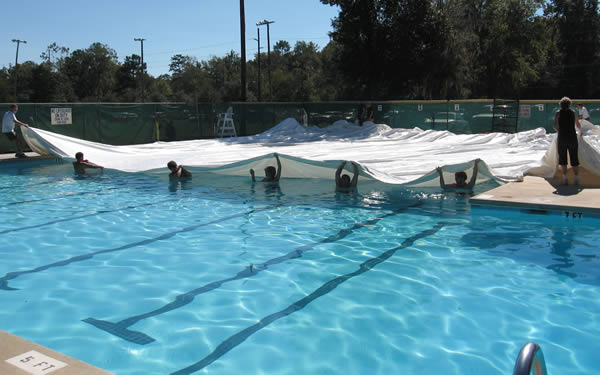
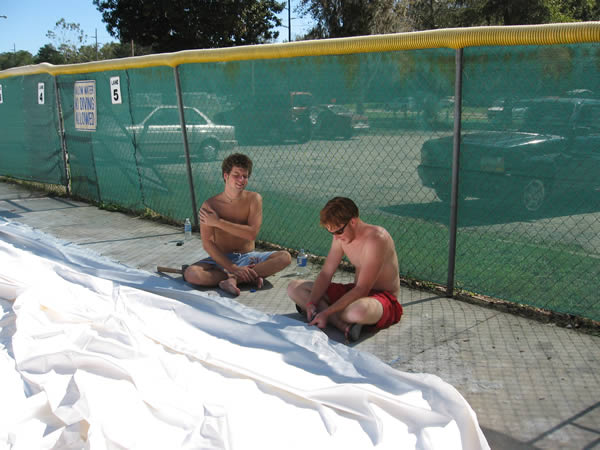
1:22 PM - Pulling a dome across the pool can normally be done with 2-3 people, but the more you have the merrier!
1:23 PM - As the dome is pulled, it unfolds like an accordian from the pool side where you began.
1:32 PM - Once the dome is fully pulled across the pool, the Airlock Entry System is slid into place.
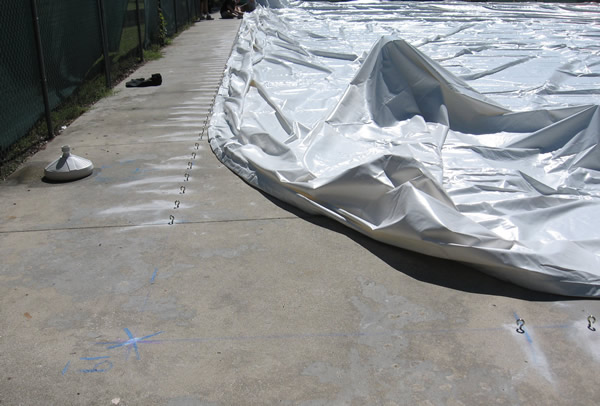
1:34 PM - After the dome is properly aligned, small portions of the dome skirt are cut out at each anchor location so that the dome anchor cable can be attached to the concrete anchors.
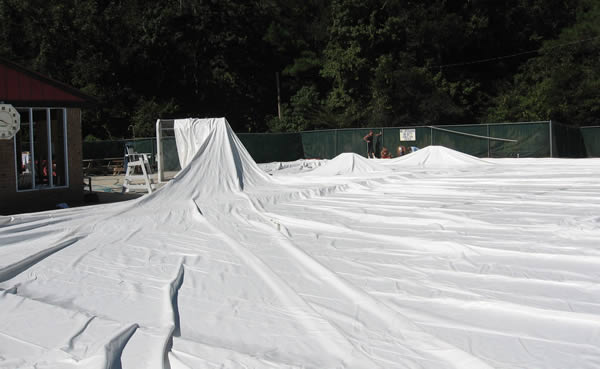
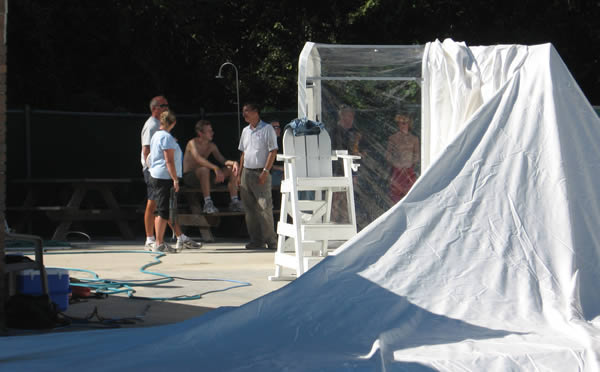
1:34 PM - Dome spread out over top of the pool.
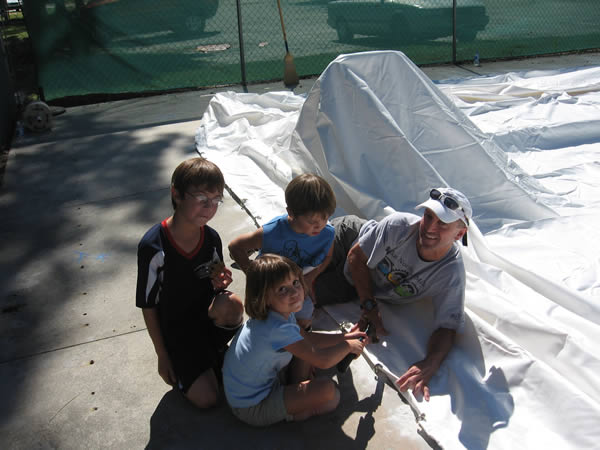
1:46 PM - Installing a dome can even be a family affair.
1:53 PM - Corners are attached last and pulled to a raduis to determine where these final anchors should be placed.
1:55 PM - Dome shroud being attached to the Airlock Entry System.
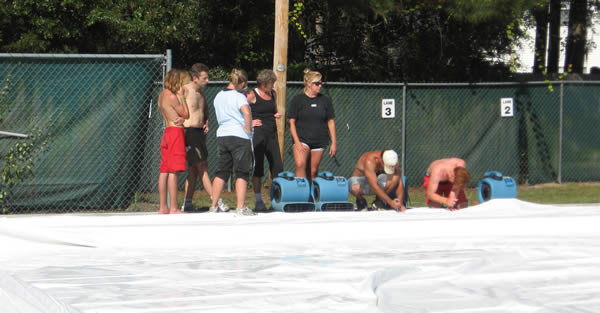
2:36 PM - Blowers are put into place and setup to begin inflating the dome.
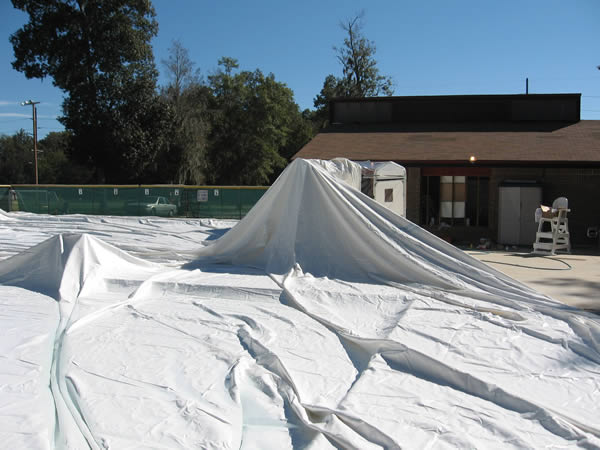
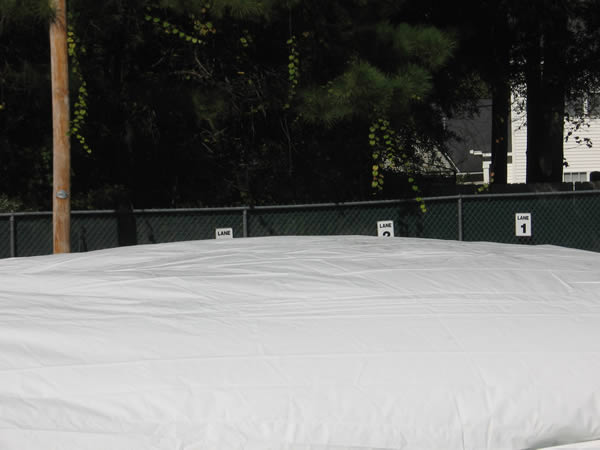
2:52 PM - Dome laying over the water just before being inflated.
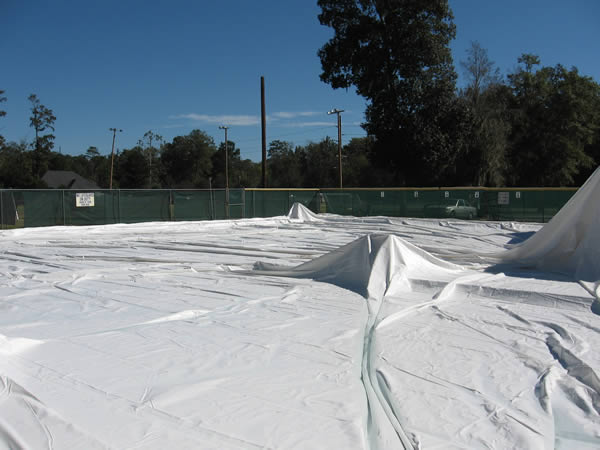
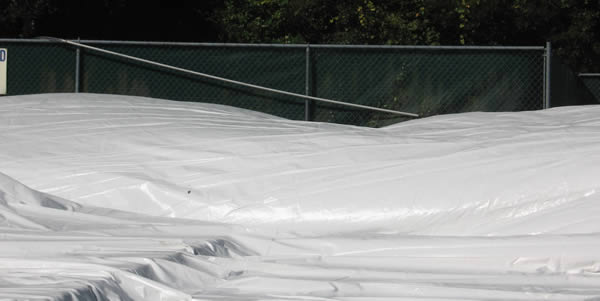
2:53 PM - Another angle of the dome spread across the pool.
2:57 PM - Air beginning to lift the dome as the blowers are turned on.
2:59 PM - The dome begins to fill with air.
3:02 PM - Waiting for the dome to inflate.
4:10 PM - The dome is up, nearly fully inflate.
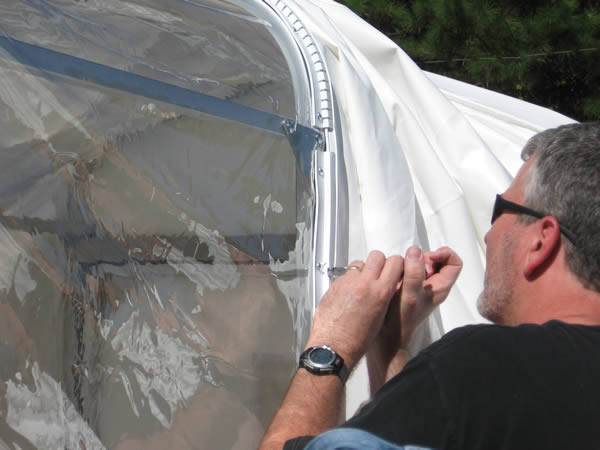
4:11 PM - 'L' zipper on the side of the dome.
4:11 PM - Entering the dome to re-attach deck hardware and pool accessories.
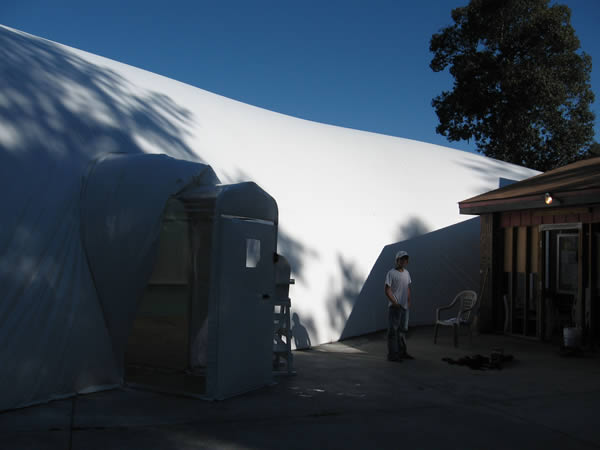
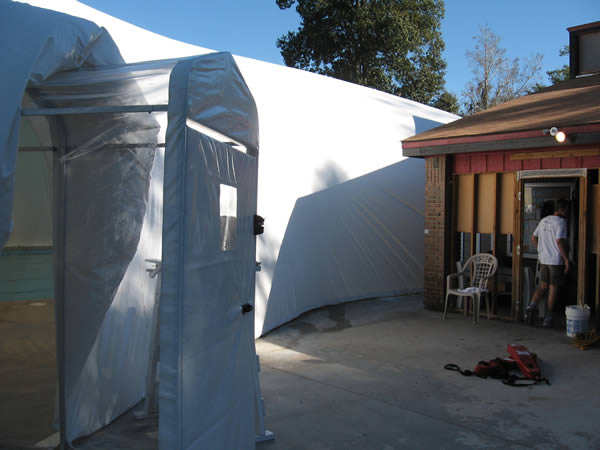
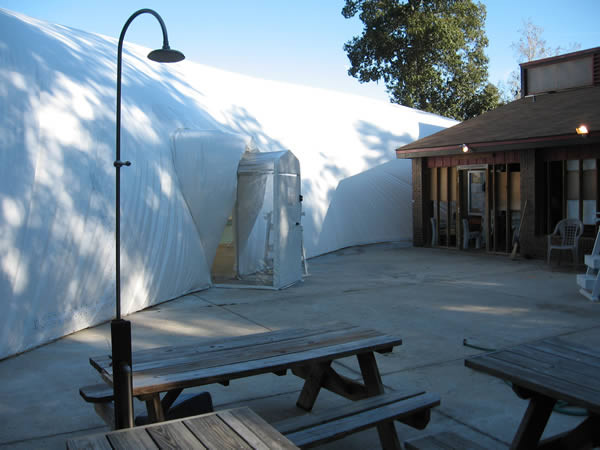
4:11 PM - External view of the dome airlock and nearby YMCA building.
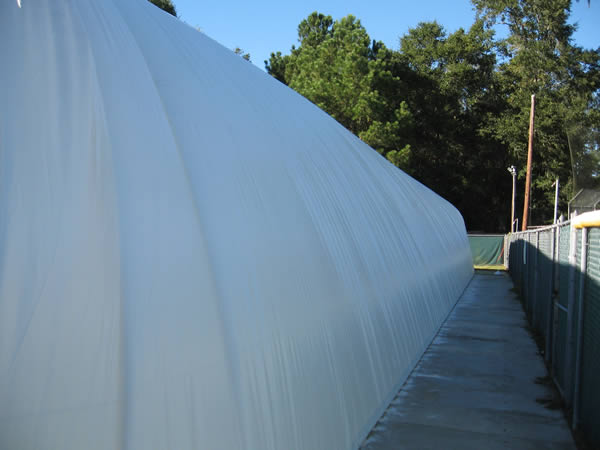
4:12 PM - Long side of the dome, opposite the building and airlock entry system.
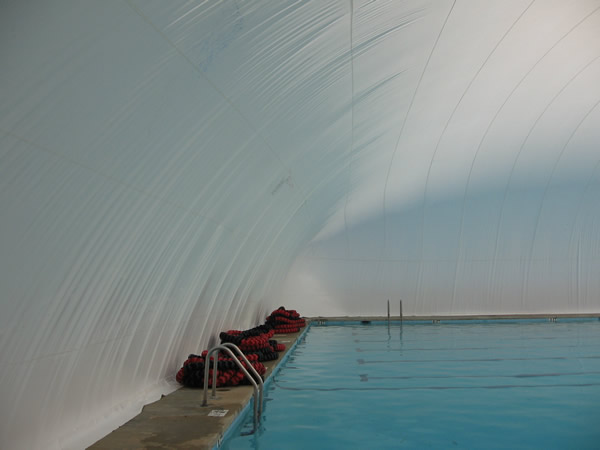
4:13 PM - View of the interior wall of the dome.
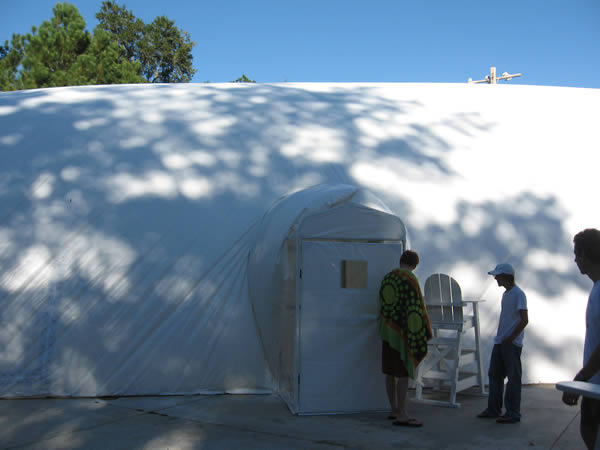
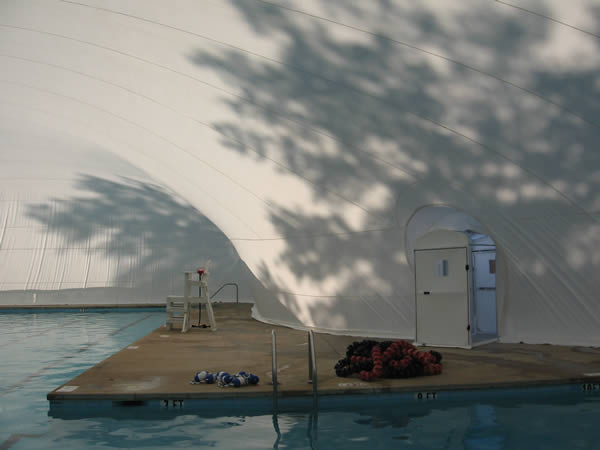
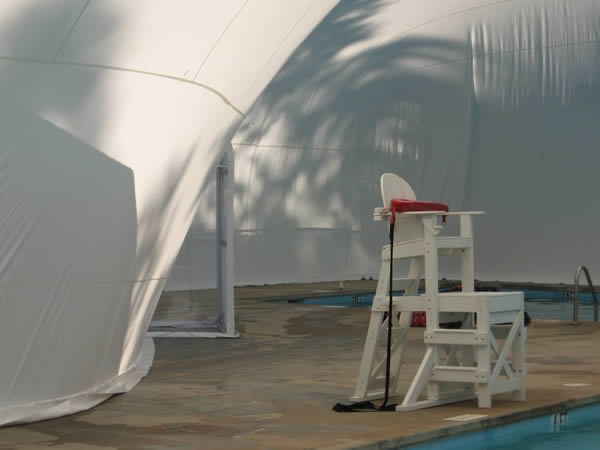
4:13 PM - Interior view of the airlock and lifeguard chair.
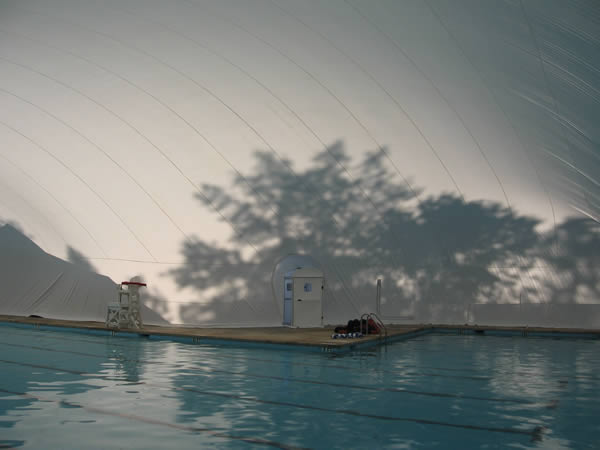
4:13 PM - Interior view of the dome from across the pool.
4:13 PM - Another view of the airlock from across the pool.
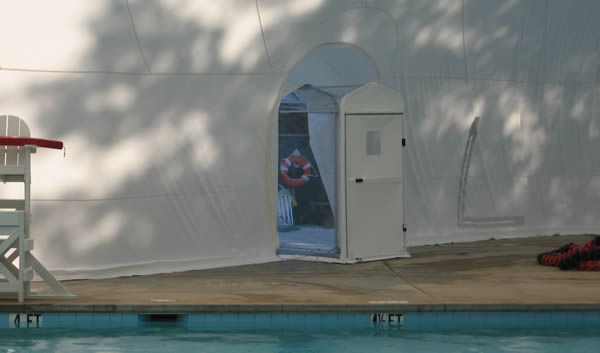
4:14 PM - Side view of the airlock from inside the dome.
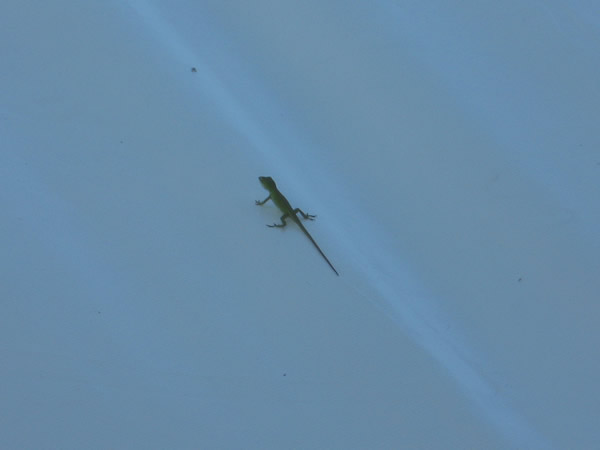
4:15 PM - Even lizards like pool domes!
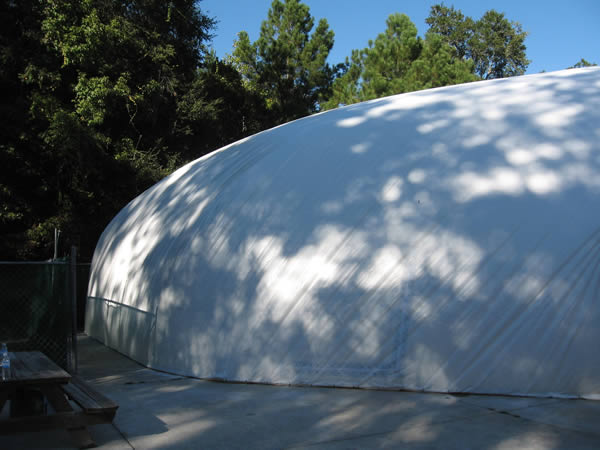
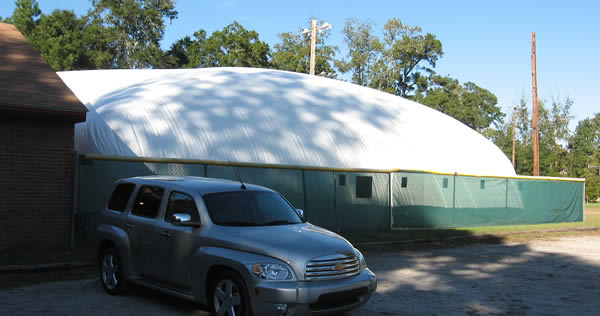
4:21 PM - The fully inflated pool dome viewed from the parking lot.
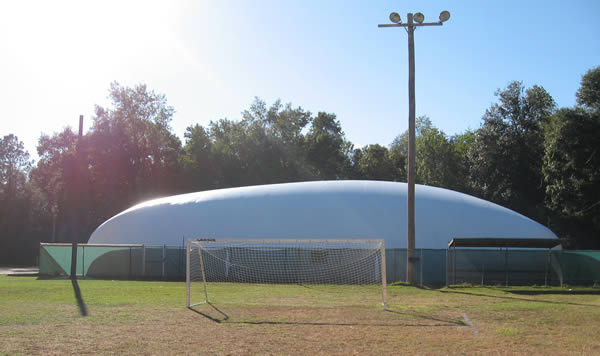
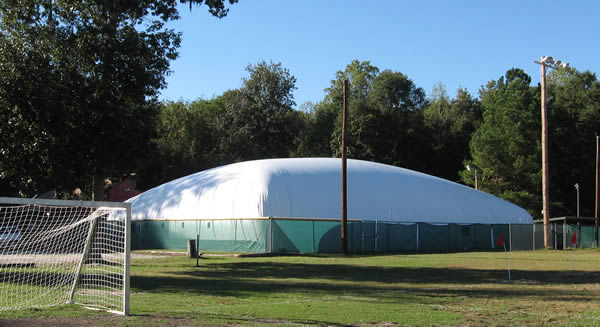
4:24 PM - Pool dome as viewed from the adjacent YMCA field
4:25 PM - Another view of the dome from the YMCA soccer field.
4:27 PM - Anybody ready for a swim?
Here is a set of pictures from a complete installation of a commercial dome. This dome was installed to cover a YMCA pool during the fall and winter winter months. Installation of a commercial dome is very similar to our residential units. The only major differences during installation are the number of blowers required for inflation and the number of people required to handle the larger dome. This dome was installed in a single day with the help of numerous YMCA volunteers. We even had time for a nice lunch :)
Images (No Gallery)
- Image 1
- Image 2
- Image 3
- Image 4
- Image 5
- Image 6
- Image 7
- Image 8
- Image 9
- Image 10
- Image 11
- Image 12
- Image 13
- Image 14
- Image 15
- Image 16
- Image 17
- Image 18
- Image 19
- Image 20
- Image 21
- Image 22
- Image 23
- Image 24
- Image 25
- Image 26
- Image 27
- Image 28
- Image 29
- Image 30
- Image 31
- Image 32
- Image 33
- Image 34
- Image 35
- Image 36
- Image 37
- Image 38
- Image 39
- Image 40