











 Lead Times
  No Sales Tax
  Made in USA
 Construction Dome Assembly & Installation
Illustrated instructions from Ameri-Brand, from the customer-built airlock frame through inflation.
Follow the eight steps below for laying out the dome, fitting the entry panels, securing the ballast, and setting up the blowers. Keep the assembly diagrams handy as you work.
The photos illustrate a pool construction job. For other work areas, review the site layout and entry position with our dome team. Review the kit contents and materials you supply.
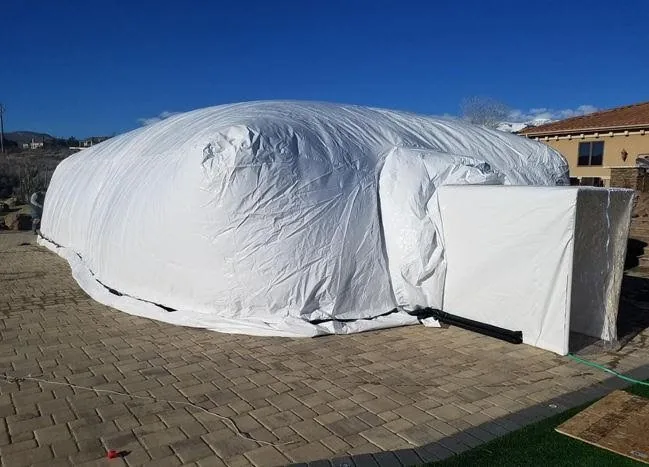
Assembly Diagrams
Airlock Frame Assembly PDF · opens in a new tab Blowers, Snorkel Tubes & Straps PDF · opens in a new tabConstruction Dome Installation Steps
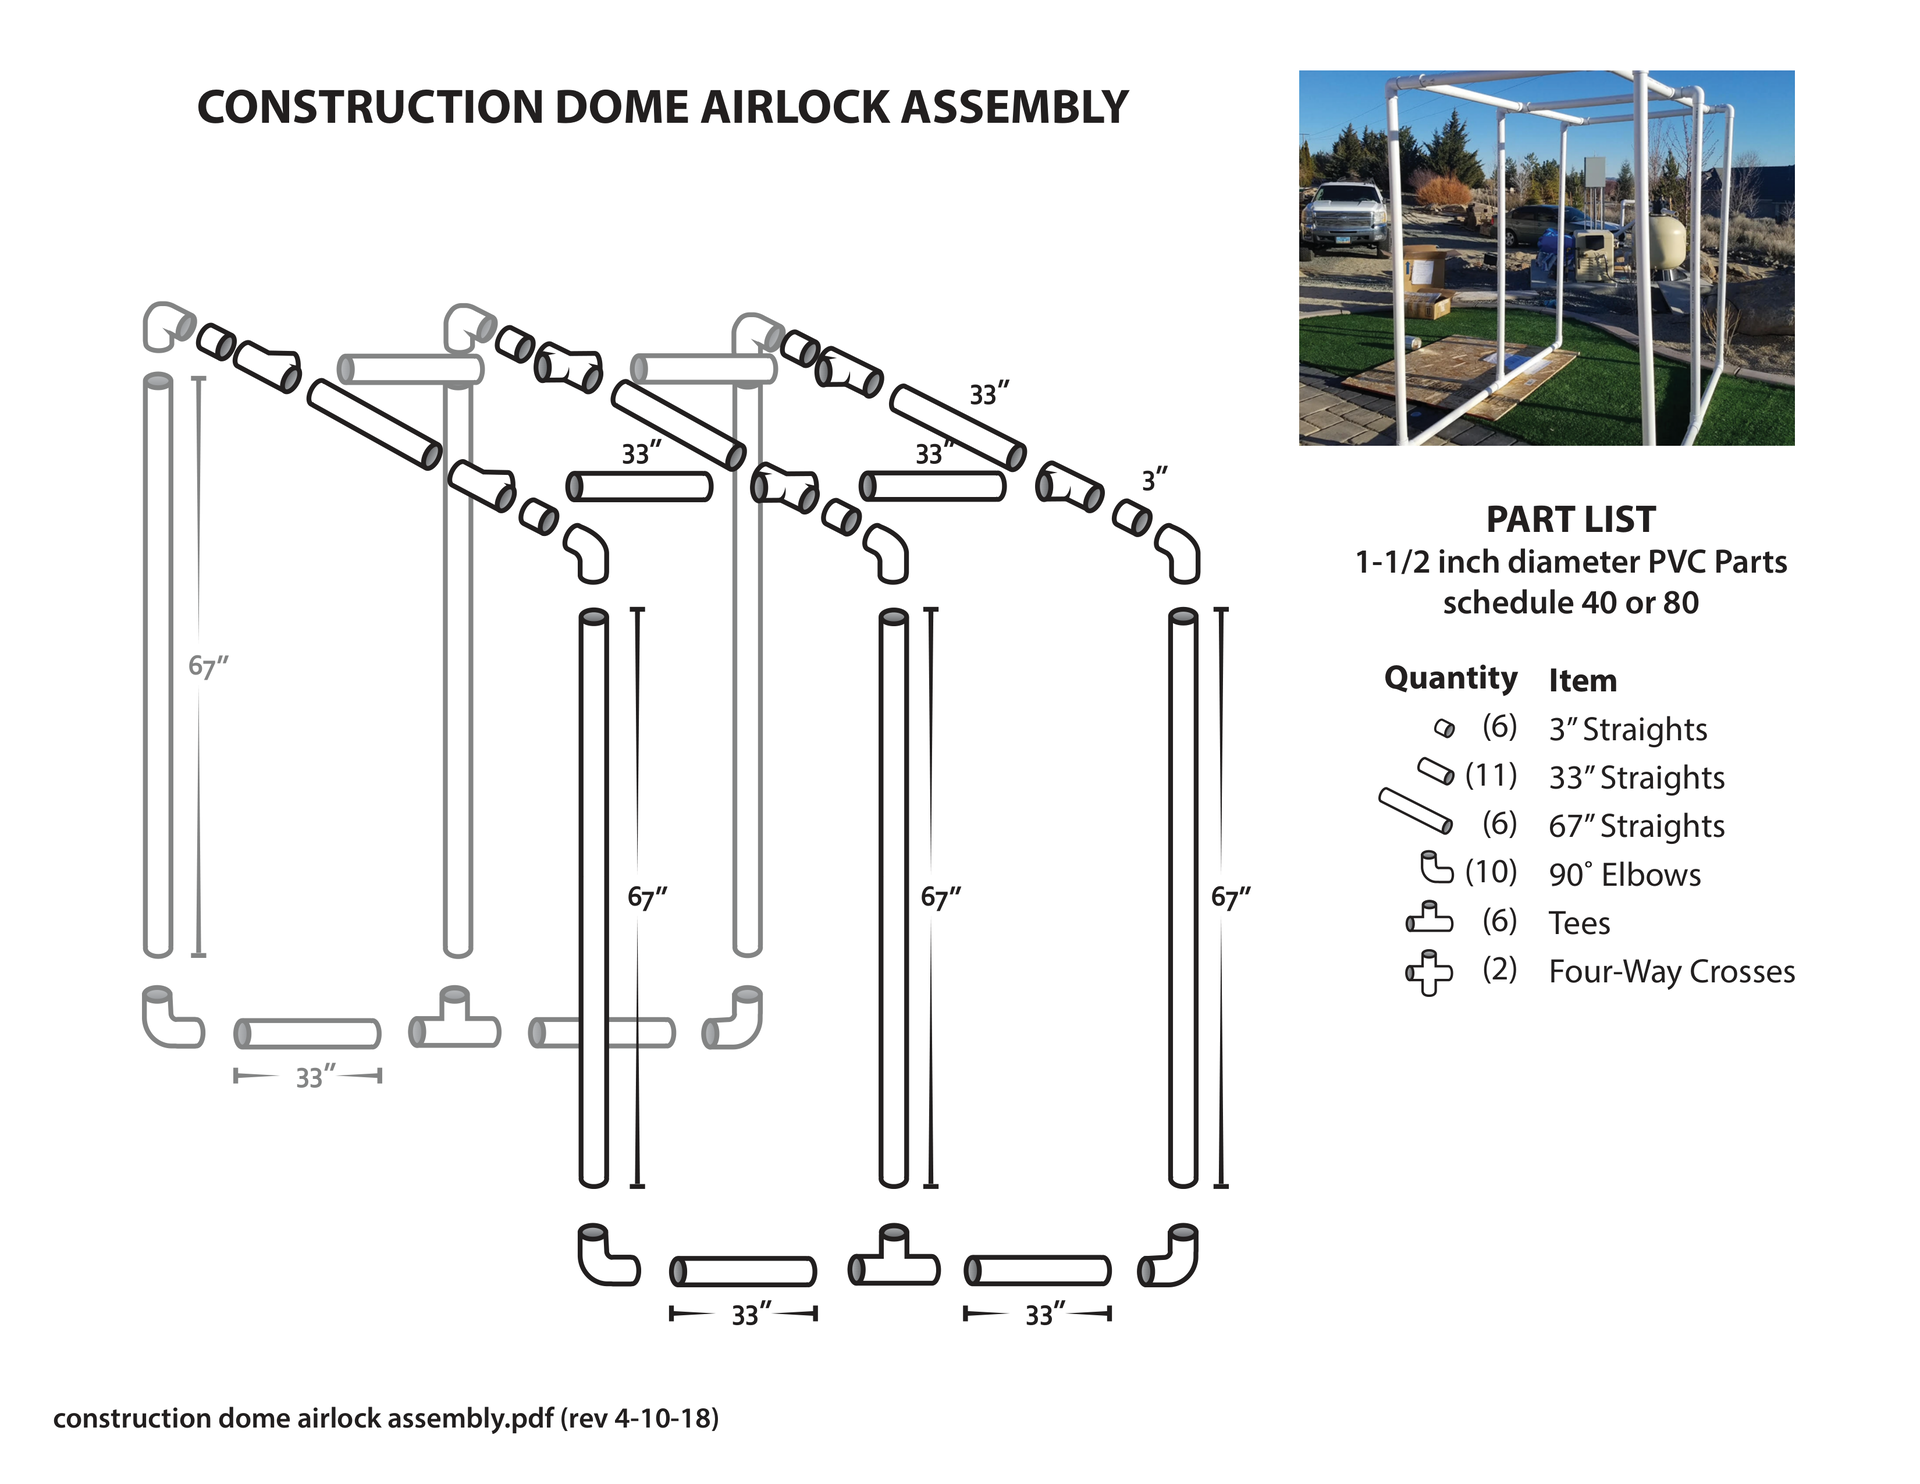
1 Assemble the complete PVC airlock frame as instructed.
Follow the diagrams and documentation provided with your kit.
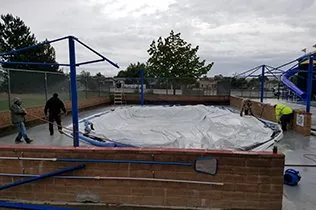
2 Spread the Construction Dome over the work area.
Drape the dome over the pool and the surrounding deck where you will be working.
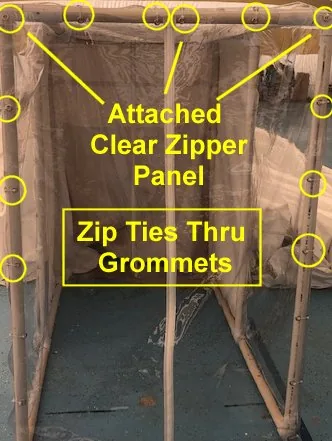
3 Attach the airlock panels and mount the frame.
Zip-tie the zipper entry and exit panels to each end of the airlock frame. Three panels are included; one is a spare.
Mount the completed frame onto your 4' x 8' plywood base and position it on the pool deck.
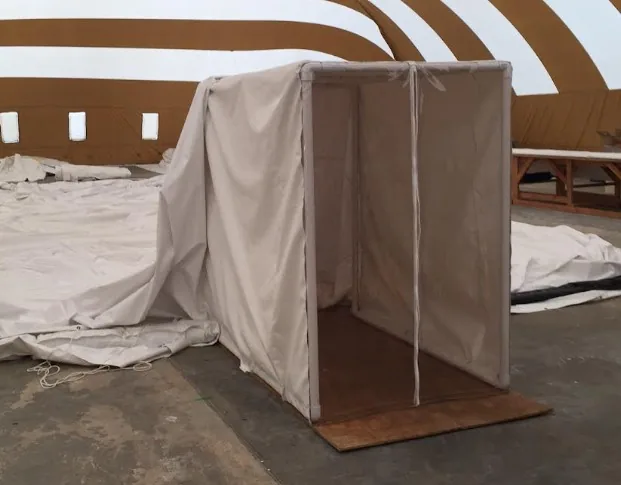
4 Slide the PVC airlock frame into position.
Secure the dome shroud to the frame with zip ties once it is aligned.
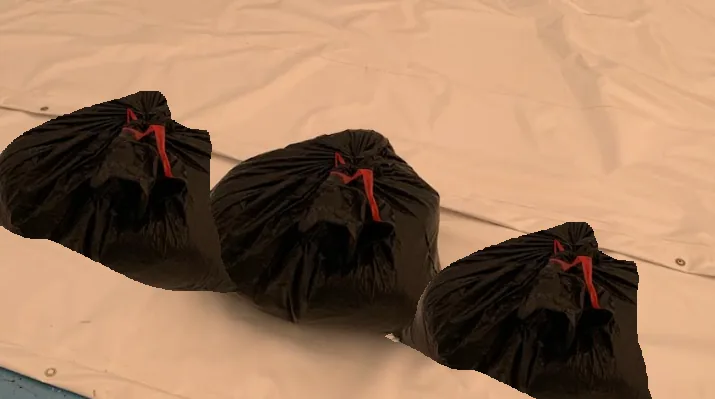
5 Prepare and place the ballast bags.
Fill the water or sand bags approximately 25% to 35% full and arrange them around the outside of the dome.
Set each bag on the flap between the inner and outer sets of grommets.

6 Secure the ballast to the dome wall.
Use rope to weave the ballast to the wall at the base of the dome, threading in and out of the grommets.
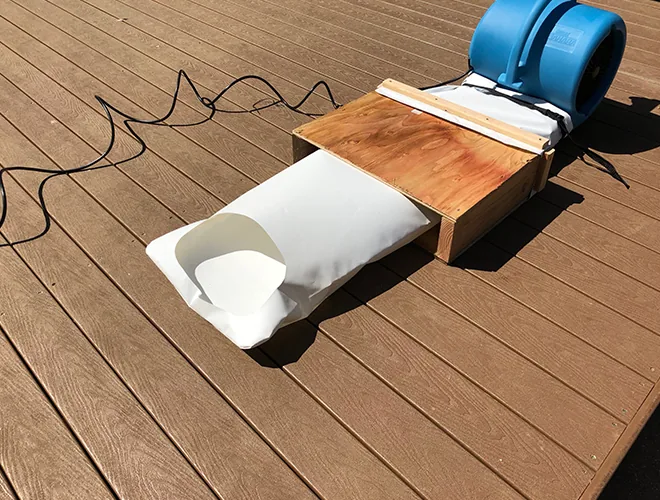
7 Construct an air flow duct support.
Build the support shown to prop up the dome wall above the snorkel tube. Each blower will require one of these supports.
8 Inflate the dome.
Turn on the blower or blowers to raise the structure and finish the installation.
Need Help or Have Questions?
Call 800-982-6966 or email [email protected] for help with your construction dome.